1. Aesthetic Appeal: Style and Design Flexibility Is It Better to Use Wallpaper or Paint for Modern Interiors? When it comes to modern interior design, aesthetics play a huge role…
If you are planning to refresh your home, one of the most common and important questions is: how many coats of paint are needed for interior walls? The answer is…
If you are planning to refresh your living room and want tailored advice from experienced local painters, our team provides professional House painting Camberwell services with expert guidance on selecting…
Painting your home can be a lot of fun, but let’s be honest: DIY painting doesn’t always go as planned. Even small mistakes can make your walls look messy or…
Painting your home can completely refresh its appearance, but before any brush touches the wall, ensuring that your walls are in good condition is crucial. Repairing wall damage before Residential…
Selling a residential property is both a financial and emotional decision. Homeowners often face a critical question before listing their property on the market: Is interior house painting worth it…
House painting in Australia is uniquely challenging due to the country’s diverse and often extreme climate. From intense UV radiation and scorching summer heat to high humidity, sudden rainfall, and…
Commercial painting is a specialised craft that demands more than simply applying a coat of paint. In Melbourne, professional painters combine technical skill, precision and extensive knowledge of materials to…
Table of Contents
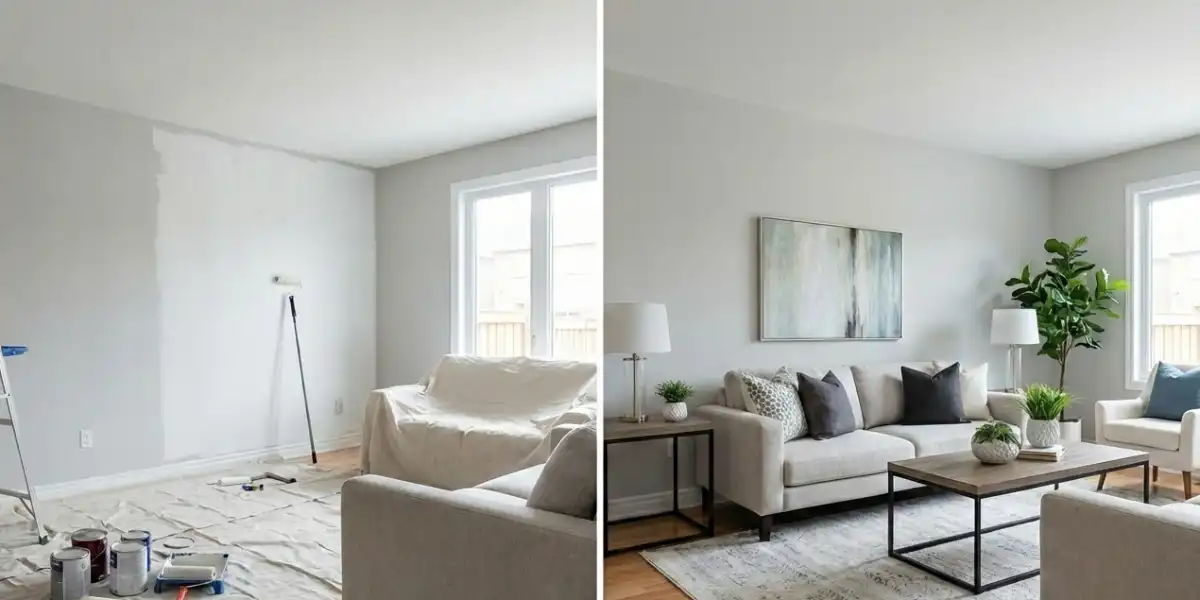
Painting your home can completely refresh its appearance, but before any brush touches the wall, ensuring that your walls are in good condition is crucial. Repairing wall damage before Residential Painting in Melbourne is essential for achieving a professional finish that lasts. This guide takes you step by step through identifying common wall problems, repairing them effectively, and preparing your home for a durable paint job.
Step 1: Inspect Your Walls Thoroughly
The first step in repairing wall damage is to identify exactly what needs fixing. Walk through each room and examine walls carefully. Look for cracks, dents, holes, water stains, bubbling paint, and areas where mould might be growing. Interior walls often show signs of minor impacts or moisture from bathrooms and kitchens, while exterior walls can suffer from Melbourne’s variable weather, including rain, sun exposure, and humidity. Taking the time to inspect your walls carefully ensures that no issue is overlooked, which is critical for long-lasting results.
Step 2: Understand the Type of Damage
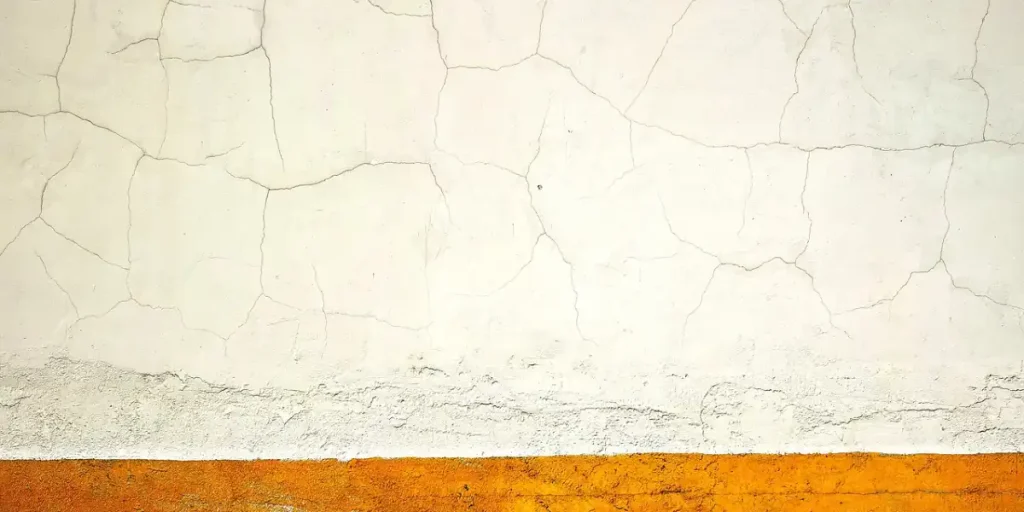
Not all wall damage is the same, and different problems require different approaches. Hairline cracks are usually superficial and can be repaired quickly, whereas larger cracks may indicate structural movement that needs attention. Holes and dents from furniture or accidental impacts require filling with the right compound. Moisture-related damage such as water stains or mould must be treated before painting to prevent recurring problems. Flaking or peeling paint should be removed completely, as painting over it will result in an uneven and short-lived finish.
Step 3: Prepare Your Walls for Repair
Before applying any filler or plaster, walls must be clean. Remove dust, dirt, grease, and loose paint using a damp cloth or mild detergent. Exterior walls may need a pressure wash to remove environmental contaminants. Drying the wall completely is essential because any remaining moisture can affect filler adhesion and cause future House Painting failure. Preparing your walls properly is the foundation for every step that follows.
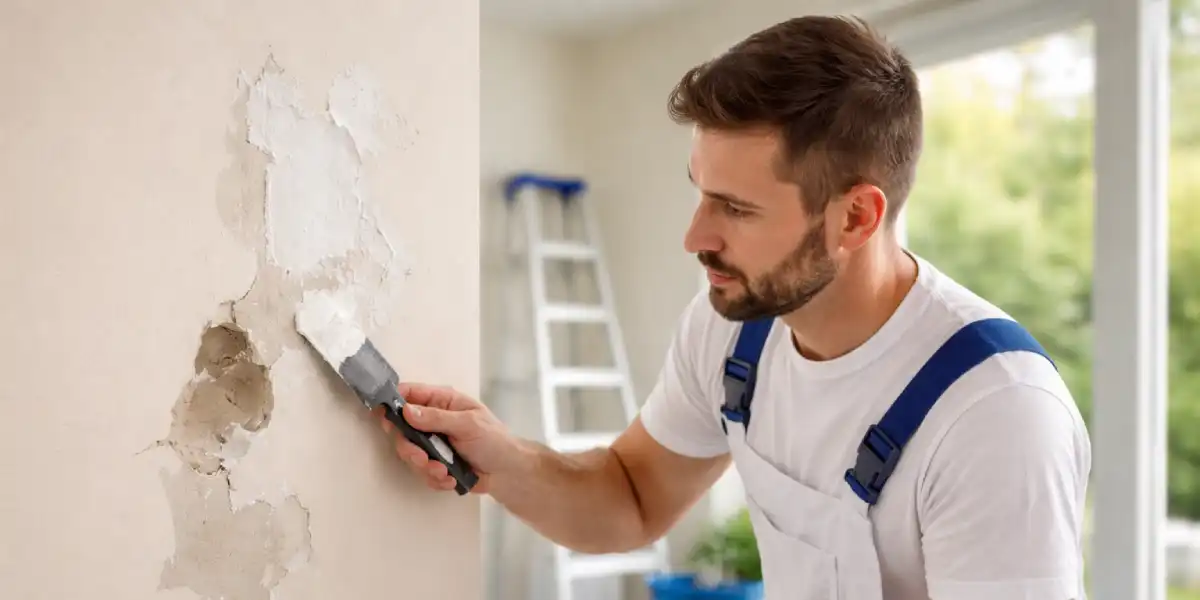
Step 4: Repair Small Cracks and Dents
For minor cracks and small dents, apply a pre-mixed filler or spackling compound. Smooth it carefully with a putty knife, ensuring it blends seamlessly with the surrounding wall. Allow it to dry according to the manufacturer’s instructions, then sand lightly until the surface is perfectly even. Attention to detail at this stage prevents imperfections from showing after painting and ensures a professional-looking result.
Step 5: Address Larger Holes or Structural Cracks
Bigger holes or cracks need a more robust approach. For these, use joint compound or plaster and, where necessary, reinforce the area with mesh tape. This adds strength to the repair and prevents cracking over time. Apply the compound in thin layers, allowing each layer to dry before adding the next. Sand carefully once fully dry to achieve a smooth, level surface. Larger repairs may require multiple sessions to ensure durability, especially for older Melbourne homes where wall movement can be more common.
Step 6: Treat Damp and Mould-Affected Areas
Damp walls and mould are frequent problems in Melbourne homes, particularly in bathrooms, kitchens, and older properties. Identify the source of moisture first, whether it’s leaking pipes, condensation, or roof issues. Apply an anti-fungal solution to remove mould and let the wall dry completely. Painting over damp or mouldy areas without treatment will result in recurring damage and may pose health risks. Properly addressing moisture is critical for a long-lasting paint job.
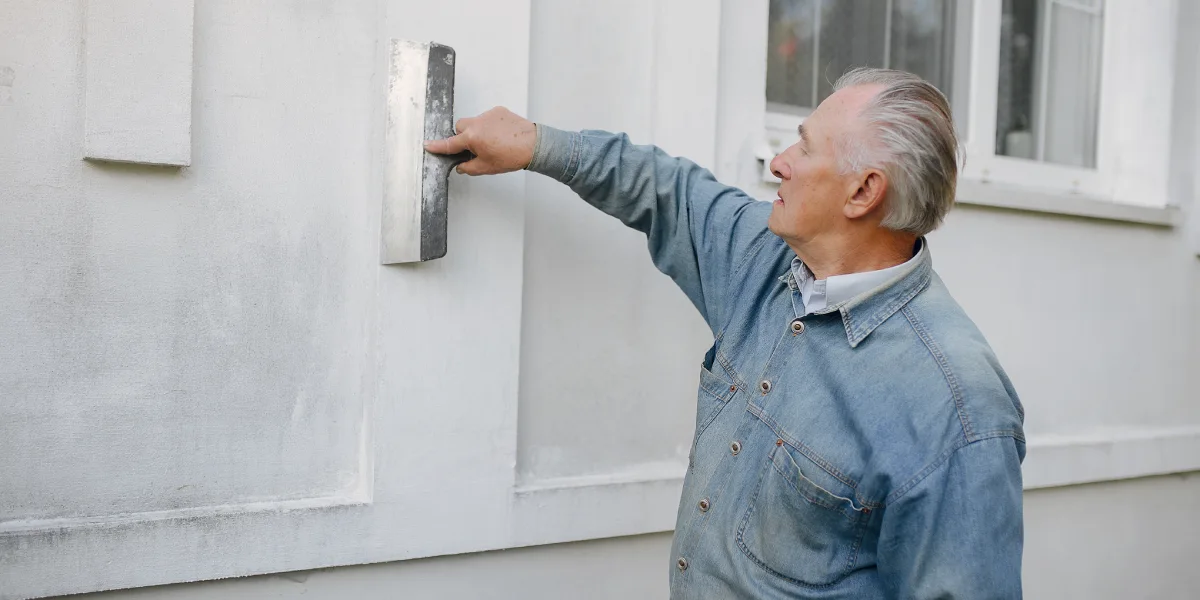
Step 7: Prime Repaired Walls
Priming is essential for consistent paint coverage. Use a primer suited to your wall type and the specific conditions of your home. Interior walls often benefit from low-VOC primers for health and safety, while exterior walls in Melbourne require primers resistant to moisture and UV exposure. Apply evenly and let it dry fully before inspecting for any imperfections. Priming also seals repaired areas, ensuring the new paint adheres well and lasts longer.
Step 8: Inspect, Sand, and Touch Up Before Painting
Once repairs are dry and primed, inspect the walls carefully. Sand any uneven spots lightly, and touch up areas as needed. This step ensures that your walls are perfectly smooth and ready for the final coat of paint. Taking the time to perform this inspection prevents imperfections from ruining the finish and ensures that the end result looks professional.
Step 9: Consider Tools and Techniques
Using the right tools can make a big difference. For repairs, putty knives and trowels are essential for smooth application. Sandpaper in different grits allows for precise finishing. When painting, high-quality brushes and rollers suited to the wall type ensure even coverage. In Melbourne, interior walls may benefit from rollers designed to reduce splatter, while exterior walls need brushes that can handle textured surfaces.
Step 10: Know When to Call a Professional
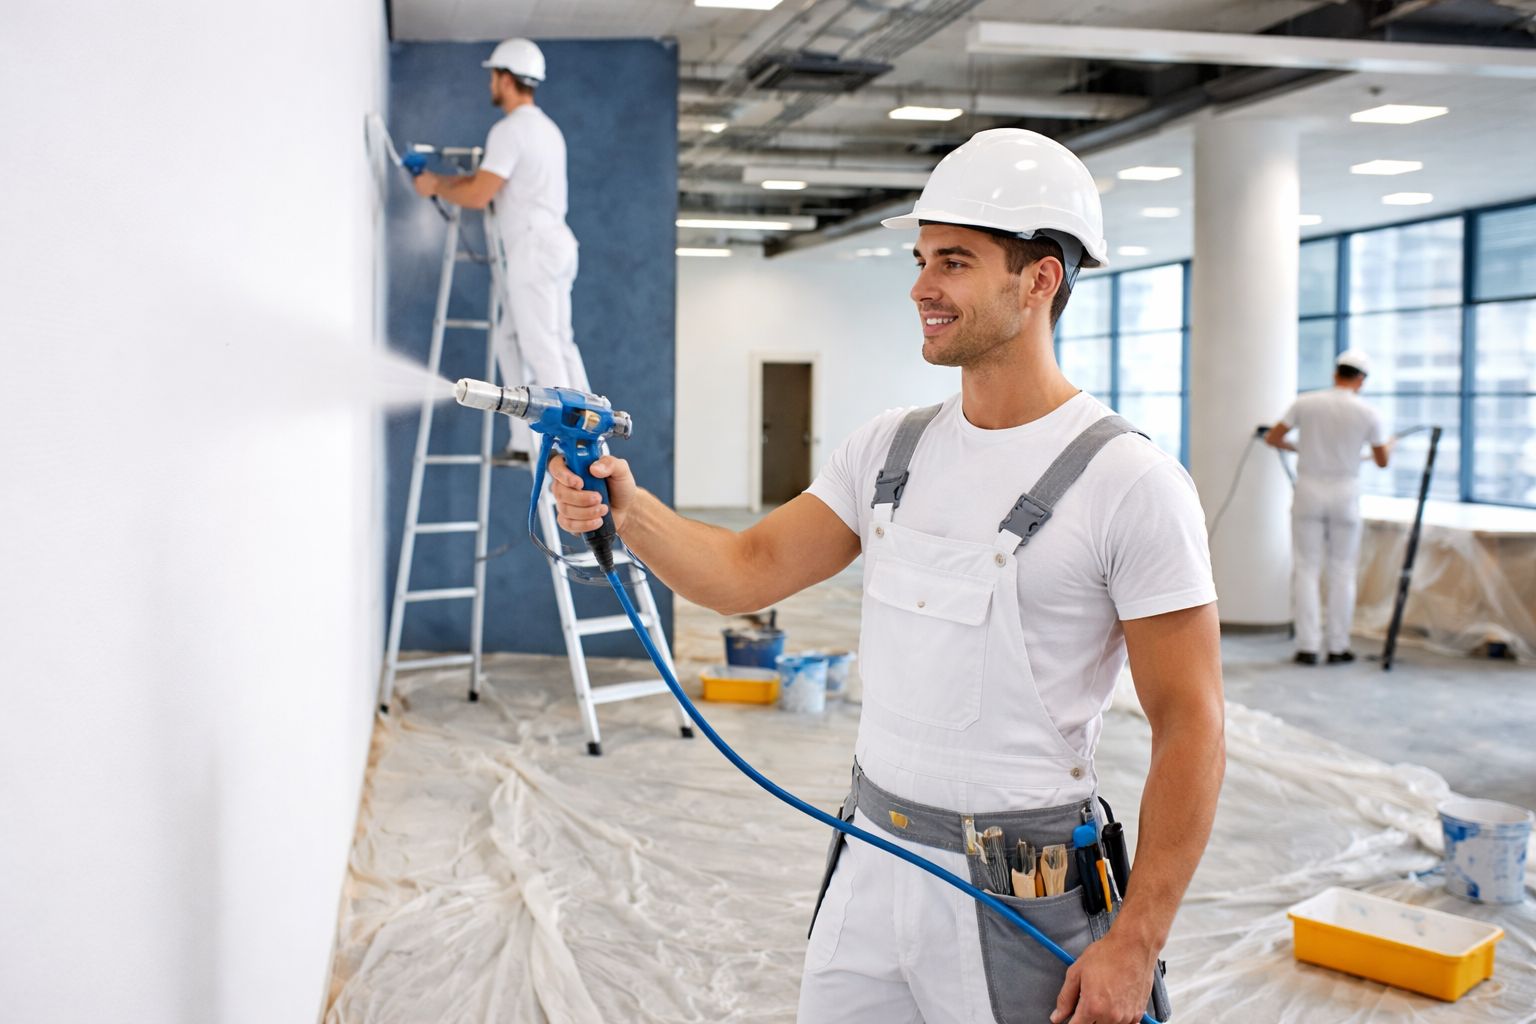
Some wall issues may require professional intervention. Structural cracks, extensive water damage, or persistent mould may be beyond DIY repair. Hiring a residential painter in Melbourne with experience in wall restoration ensures the work is done safely and effectively. Professionals bring specialised tools, expert knowledge, and local understanding of Melbourne’s climate, which can significantly enhance the longevity and quality of your paint job.
Step 11: Maintain Your Walls After Painting
Even after a flawless paint job, maintenance is key. Regularly check walls for signs of moisture, cracks, or peeling paint. Clean surfaces gently to prevent buildup of dust or grime. Early attention to minor issues prevents major repairs and ensures your home stays looking its best. Long-term care of your walls maximises the value of the time and effort spent repairing and painting them.
Conclusion
Repairing wall damage before painting in Melbourne homes is more than just a preparatory step—it is a vital part of achieving a durable, professional finish. From inspecting walls and understanding the type of damage to repairing cracks, treating damp, priming surfaces, and performing final inspections, each step contributes to the success of your residential painting project. Following these steps, whether you undertake the work yourself or hire a skilled Melbourne painter, ensures that your walls look pristine, your paint lasts longer, and your home maintains its value for years to come.
Repairing wall damage before painting in Melbourne homes protects your investment and enhances the appearance of your property while reducing the risk of future maintenance issues.
Frequently Asked Questions
How long does it take to repair wall damage before painting in Melbourne homes?
The repair timeline depends on the severity of the damage. Small cracks and dents can typically be fixed in a few hours, whereas larger holes, structural cracks, or damp issues may take several days to fully dry and prepare. Using the right compounds and primers ensures durability and prevents future problems.
Can I paint over minor wall damage without repairing it first?
Painting over even minor damage is not recommended. Hairline cracks, peeling paint, or small dents can cause uneven surfaces and reduce paint adhesion. Repairing all wall damage before painting in Melbourne homes ensures a smooth, long-lasting finish.
What is the best filler for repairing wall damage in Melbourne homes?
For small cracks and dents, pre-mixed fillers or spackling compounds are ideal. For larger holes or structural cracks, use joint compound or plaster, possibly reinforced with mesh tape. Exterior walls may require weatherproof fillers to withstand Melbourne’s variable climate.
How do Melbourne’s weather conditions affect wall repairs?
Melbourne’s climate can influence drying times and paint adhesion. High humidity, rain, and temperature fluctuations can affect plaster and filler curing. Interior walls usually dry faster, but exterior repairs should consider moisture protection and UV-resistant coatings.
Can I repair wall damage myself or should I hire a professional?
Minor cracks, dents, and small holes can be repaired by a confident DIYer. However, structural cracks, persistent mould, extensive water damage, or large repairs are best handled by professional painters or contractors experienced in Melbourne homes. This ensures safety, durability, and a professional finish.
How do I prevent mould from returning after wall repair?
Identifying the source of moisture is key. Fix leaks, improve ventilation, and use anti-fungal primers or paints. Keeping walls dry and addressing the underlying problem prevents mould recurrence after repairing and painting.