1. Aesthetic Appeal: Style and Design Flexibility Is It Better to Use Wallpaper or Paint for Modern Interiors? When it comes to modern interior design, aesthetics play a huge role…
You’ve rolled the first coat, stepped back, and spotted streaks, patchy colour, and a faint reminder of the old feature wall. Does it need another coat, a different roller, or…
You can spend weeks choosing the perfect wall painting services, only to discover it looks completely different once the room is painted. Sometimes the colour isn’t the problem—it’s the sheen.…
Painting your home can be a lot of fun, but let’s be honest: DIY painting doesn’t always go as planned. Even small mistakes can make your walls look messy or…
Painting your home can completely refresh its appearance, but before any brush touches the wall, ensuring that your walls are in good condition is crucial. Repairing wall damage before Residential…
Selling a residential property is both a financial and emotional decision. Homeowners often face a critical question before listing their property on the market: Is interior house painting worth it…
House painting in Australia is uniquely challenging due to the country’s diverse and often extreme climate. From intense UV radiation and scorching summer heat to high humidity, sudden rainfall, and…
Commercial painting is a specialised craft that demands more than simply applying a coat of paint. In Melbourne, professional painters combine technical skill, precision and extensive knowledge of materials to…
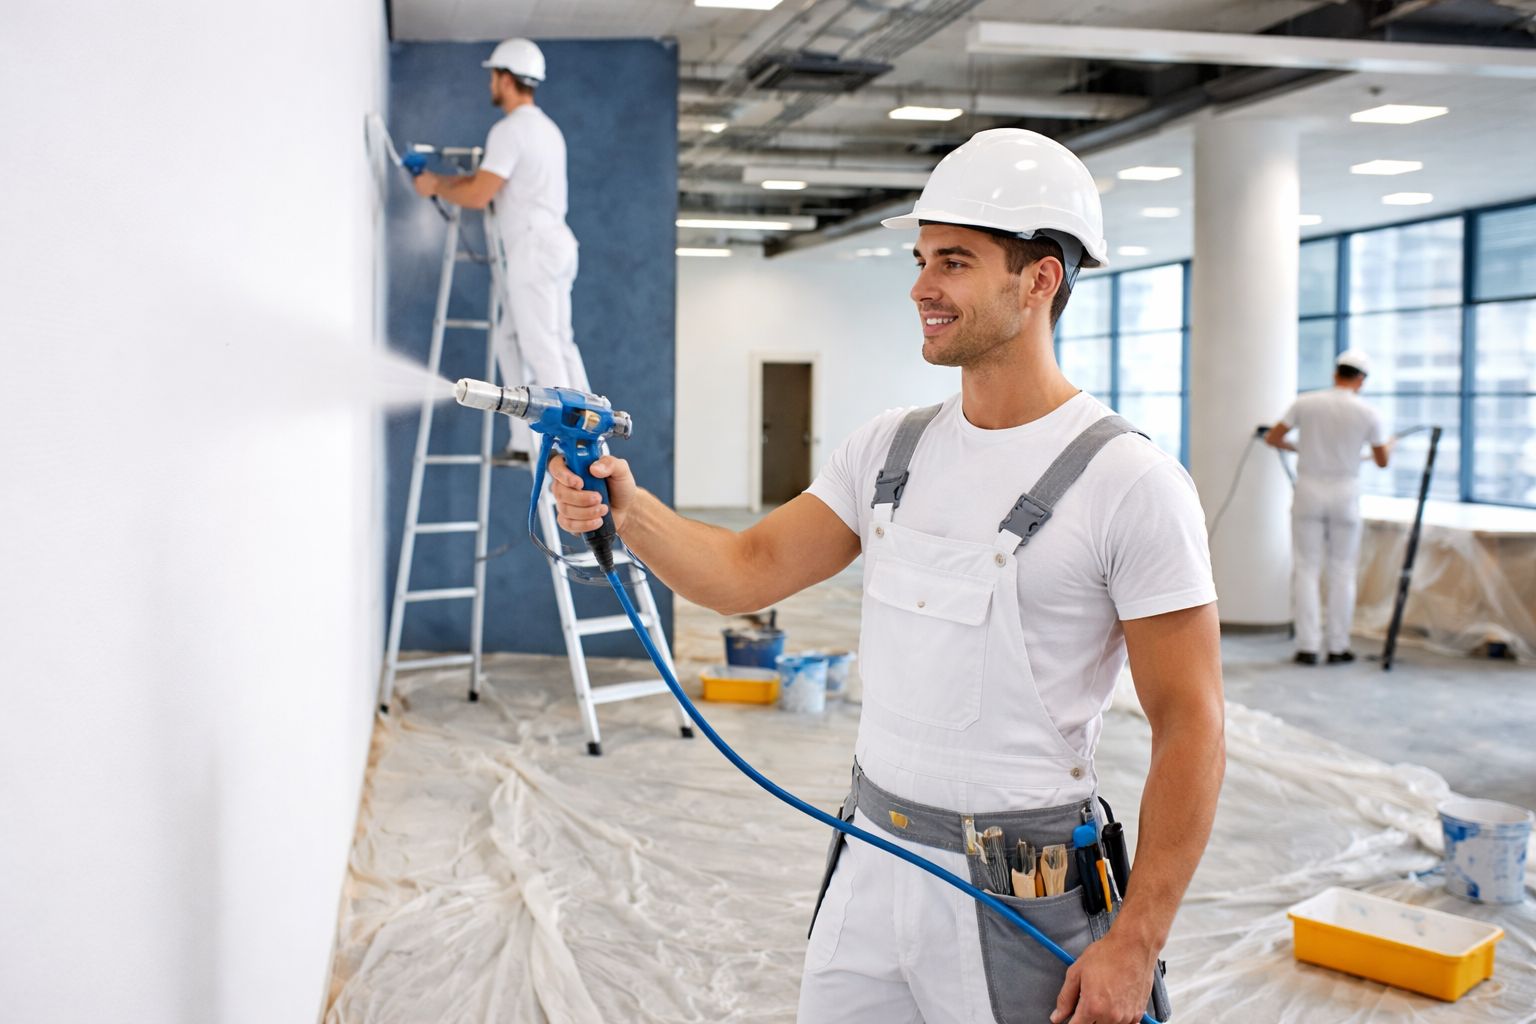
Choosing the right house painting tools makes it easier to achieve even coverage, tidy edges, and a finish you’re happy to live with. Whether you’re refreshing a bedroom or repainting your home, the best tools for painting walls usually start with a quality brush and roller. A paint sprayer can also help, especially for larger, empty spaces or detailed surfaces.
Each tool has a different job. Brushes offer control around edges and trim, rollers cover walls and ceilings painting, efficiently, and sprayers apply paint quickly once preparation is complete. Understanding these painting tools helps you avoid unnecessary purchases and choose equipment suited to your surface, paint, and experience.
This guide explains what to use, how to use it, and where each option works best for Australian DIYers and tradies.
Essential house painting tools for interior projects
Before opening a tin of paint, organise your preparation equipment and applicators. A useful interior painting services kit includes:
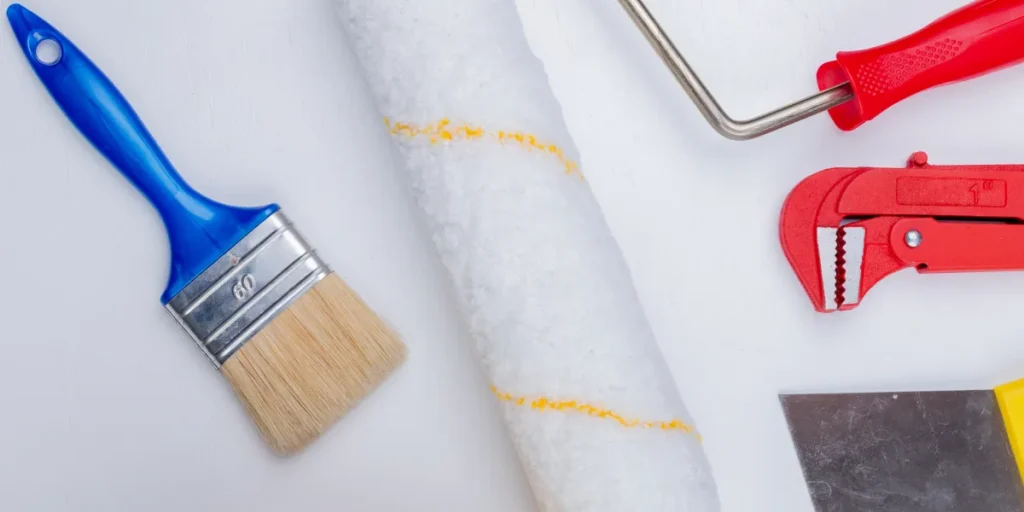
Paint brushes: For cutting in, corners, doors, skirting boards and architraves.
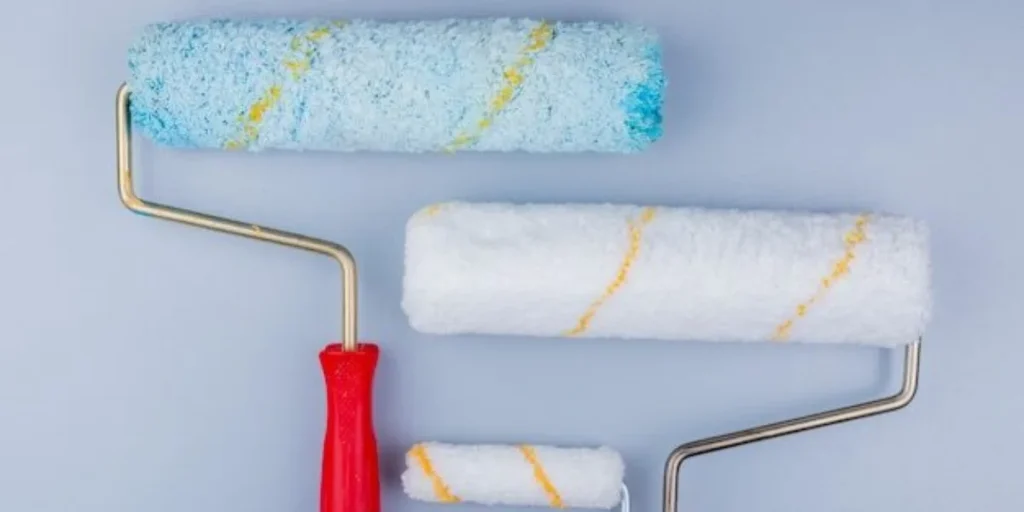
Roller frame and sleeves: Match the sleeve material and nap length to your paint and surface.
Paint tray and liners: For loading the roller evenly and simplifying cleanup.
Extension pole: Helps you reach ceilings and upper walls with better control.
Painter’s tape: Choose tape suitable for the surface, particularly on delicate or recently painted finishes.
Drop sheets: Protect floors and furniture. Avoid slippery, loose plastic underfoot.
Sandpaper or sanding blocks: For smoothing repairs and preparing suitable existing coatings.
Filler and filling knife: For repairing small holes and surface imperfections.
Paint stirrer: Mix paint thoroughly before application.
Stable stepladder: For accessible detail work where an extension pole cannot do the job.
Cleaning supplies: Include suitable surface cleaner, cloths, and the cleanup materials specified on the paint tin.
Paint sprayer, if needed: Useful for selected projects, but unnecessary for many single-room repaints.
Take your paint details and a few surface photos to Bunnings or your local paint shop if you need help choosing compatible brushes, roller sleeves, and primers.
Why your choice of painting tools matters
The right applicator helps you control paint coverage and texture. However, tools alone cannot compensate for dirty walls, loose paint, or an unsuitable primer.
Consider:
Surface texture: Smooth plasterboard and textured walls need different roller sleeves.
Paint type: Water-based wall paint and trim enamel may require different applicators.
Room layout: An occupied bedroom has different preparation requirements from an empty new build.
Finish expectations: Gloss highlights surface defects and application marks more readily than flatter finishes.
Your experience: A roller is generally easier to learn than spray equipment.
Choose your coating first, then follow its application recommendations. Check the specific product instructions when using Dulux, Taubmans, or another paint brand.
Paint brushes: precision and control
A brush remains essential for cutting in where walls meet ceilings, painting around frames and reaching detailed profiles.
For general interior work, a 50–75 mm angled sash brush is a useful starting point. A smaller brush can make narrow trims and intricate mouldings easier to manage.
Choose the right bristles
Synthetic bristles: Usually the best choice for water-based acrylic paints and water-based enamels. Look for fine, tapered tips that release paint evenly.
Natural bristles: Can suit traditional solvent-based coatings where the coating manufacturer recommends them.
Compatible synthetic brushes: Some are also designed for oil-based paint, so check the brush label rather than choosing by bristle type alone.
A well-made brush should hold its shape and shed few bristles. Brands such as Purdy and Wooster offer options, but compatibility, size, and comfortable handling matter more than the name on the handle.
Where brushes work best
Use a brush for:
Cutting in along ceilings and corners.
Skirting boards and architraves.
Window and door frames.
Recessed door panels.
Small repairs and touch-ups.
Brushes offer excellent control but take longer across broad walls. Avoid repeatedly brushing paint that has started to dry, as this can leave drag marks.
Best paint brush for interior doors and glossing doors
The best paint brush for interior doors depends on your chosen coating. For water-based enamel, a quality 38–50 mm synthetic brush with fine, tapered bristles is a practical option for panel details, edges and mouldings.
For glossing doors with a traditional oil-based enamel, use a natural-bristle brush or a synthetic brush specifically approved for that coating. Natural bristles are generally unsuitable for water-based paint because they absorb water and can lose their shape.
For a smoother result:
Remove handles and other hardware where practical.
Clean away grease and hand marks.
Prepare the existing finish and apply any required primer.
Brush recessed details first.
Use a compatible short-nap mini roller on broad, flat sections.
Finish with light, controlled strokes while the paint remains wet.
Follow the stated recoating and curing times before returning the door to normal use.
Gloss makes dents, sanding scratches, and brush marks more noticeable, so preparation matters as much as brush quality. Taubmans’ interior door painting guide also recommends maintaining a wet edge and cleaning tools promptly.
Paint rollers: the best tools for painting walls and ceilings
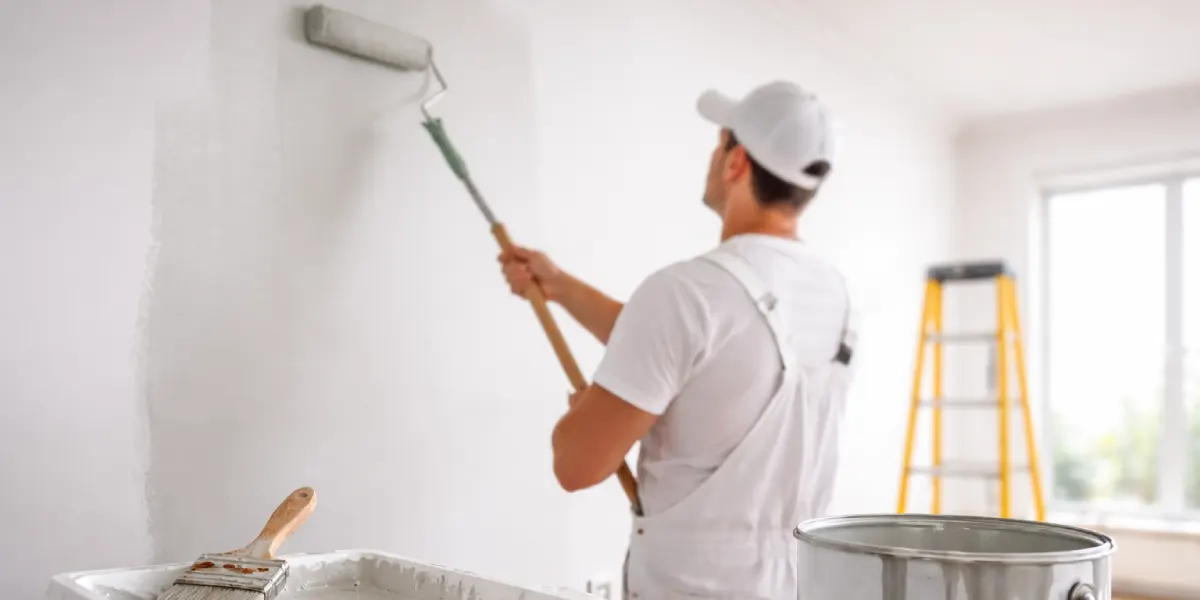
For most everyday interior repaints, a roller provides a useful balance of speed, control and affordability. Pair it with a cutting-in brush, and you can tackle most walls and ceilings without spray equipment.
A standard roller suits open wall areas, while a mini roller helps behind fittings and across smaller surfaces.
Match the roller nap to the surface
The nap is the length of the roller sleeve’s fibres. As a general guide:
Short nap, around 4–6 mm: Often used for smoother finishes with suitable enamels on doors or cabinetry.
Medium nap, around 10–12 mm: A common starting point for smooth interior walls and ceilings with water-based paint.
Longer nap, around 15–20 mm or more: Helps reach into textured surfaces.
Always check the coating manufacturer’s recommendation. A very short sleeve may not carry enough wall paint, while an unnecessarily long sleeve can leave more texture than you want.
Quality microfibre or woven sleeves can provide consistent paint pickup and release. Follow the sleeve’s preparation instructions to minimise loose fibres.
How to get a more even roller finish
Load the sleeve evenly without leaving it dripping.
Work in manageable sections.
Spread paint using overlapping strokes or a loose “W” pattern, then even it out.
Keep a wet edge between sections.
Finish with light passes in a consistent direction.
Reload before the roller becomes dry instead of pressing harder.
Rollers leave some surface texture, even with good technique. Excessive pressure, unsuitable sleeves, and overworking partly dried paint can make that texture more obvious.
Paint sprayer: fast application with more preparation
A paint sprayer atomises paint and distributes it across the surface. In experienced hands, it can produce an even finish without brush strokes or roller stipple. It does not remove dents, rough preparation, or existing surface texture.
Common equipment types include:
HVLP sprayers: Often used for smaller finishing tasks and detailed work, provided the coating is compatible.
Airless sprayers: Commonly used for larger wall and ceiling areas.
Check the machine’s coating compatibility, tip requirements, and operating instructions before buying or hiring.
When spraying makes sense
A sprayer can be useful for:
Empty rooms and larger renovation projects.
New builds before finishes and furnishings are installed.
Multiple doors or detailed components.
Broad surfaces where masking and setup time can be spread across a larger job.
Spraying can be quick during application, but total project time also includes protection, setup and equipment cleaning.
What to consider before spraying indoors
Overspray can travel beyond the area you are painting. Protect adjacent surfaces thoroughly and follow equipment and coating requirements for ventilation and protective equipment.
Other considerations include:
Higher equipment costs than a basic brush and roller kit.
Paint loss through overspray.
Practice needed to avoid runs and uneven coverage.
Thorough cleaning of filters, tips, and the paint delivery system.
Possible back-rolling requirements, where freshly sprayed paint is rolled while wet to achieve the specified finish.
Follow the sprayer manual for distance and overlap. Around 30 cm and 50% overlap are common airless starting points, but they are not universal settings.
Check current purchase or hire options with Bunnings or a specialist supplier rather than assuming one sprayer will suit every coating.
Brush and roller vs paint sprayer: comparison table
Aspect
Brushes
Rollers
Sprayers
Speed
Slower across large areas; useful for careful detail work
Fast coverage on walls and ceilings
Fast application across suitable areas; masking and cleanup add time
Finish quality
Precise edges; brush marks possible
Consistent finish with some roller texture
Can provide a fine, even finish; results depend on preparation and technique
Ease for beginners
Manageable, but neat cutting in takes practice
Generally the easiest option for broad surfaces
Steeper learning curve and more equipment setup
Best surfaces
Edges, trims, skirting boards and detailed features
Broad walls, ceilings and flat areas
Large prepared areas and detailed components with suitable equipment
Preparation and cleanup
Surface preparation plus thorough brush cleaning
Surface preparation, floor protection and sleeve cleaning
Extensive masking plus equipment flushing and cleaning
Paint efficiency
Controlled application with little overspray waste
Efficient coverage with limited application waste
Greater potential for paint loss through overspray
Most projects benefit from combining tools. Use brushes for details, rollers for broad surfaces, and a sprayer when the scale and working conditions justify it.
Choosing the best paint for cabinets
The best paint for cabinets is a coating designed for the cabinet material and regular handling. Ordinary wall paint is generally a poor substitute for a suitable cabinet coating.
Look for a finish that suits:
Frequent wiping and cleaning.
Grease and hand contact.
Occasional splashes.
Your cabinet material, including timber, laminate or melamine.
For example, Dulux Renovation Range Cabinet Doors is intended for specified interior cabinet surfaces, including laminate, melamine and timber. Follow the complete preparation, primer and finishing system in the Dulux cabinet painting guide.
A durable water-based enamel may suit some timber cabinetry where the manufacturer approves that use. Do not assume that a door-and-trim enamel will adhere directly to laminate.
What about the Australian climate?
For indoor cabinetry, kitchen humidity, cleaning, and curing conditions usually matter more than outdoor weather resistance.
Cold conditions can slow drying, while hot conditions can shorten working time. Follow the product’s temperature limits, ventilate the room, and allow the finish to cure before heavy use.
Use a fine synthetic brush for details and the recommended short-nap mini roller for flat sections. Avoid substituting a thick wall roller if you want a smoother cabinet finish.
How to choose tools for your project
Project size
A brush and roller are usually practical for a single furnished room. Spraying becomes more attractive when several rooms are empty and easy to protect.
Budget
Compare the full cost of equipment, masking materials, cleaning supplies, and your time. Buying a sprayer for one small room may offer little benefit.
Experience
Start with a brush and roller if you are learning. Practise spraying on a suitable test surface before moving onto finished work.
Paint type
Match the applicator to the exact coating. Do not thin paint unless both the coating instructions and equipment requirements allow it.
Ventilation and working conditions
Low-VOC paints can help reduce some emissions, but they still require appropriate ventilation. Spraying creates airborne mist, so follow the product safety information and equipment instructions.
Practical tips for a better finish
Good preparation improves the result, whichever tools you choose.
Clean first: Remove dust, grease and other contamination before coating.
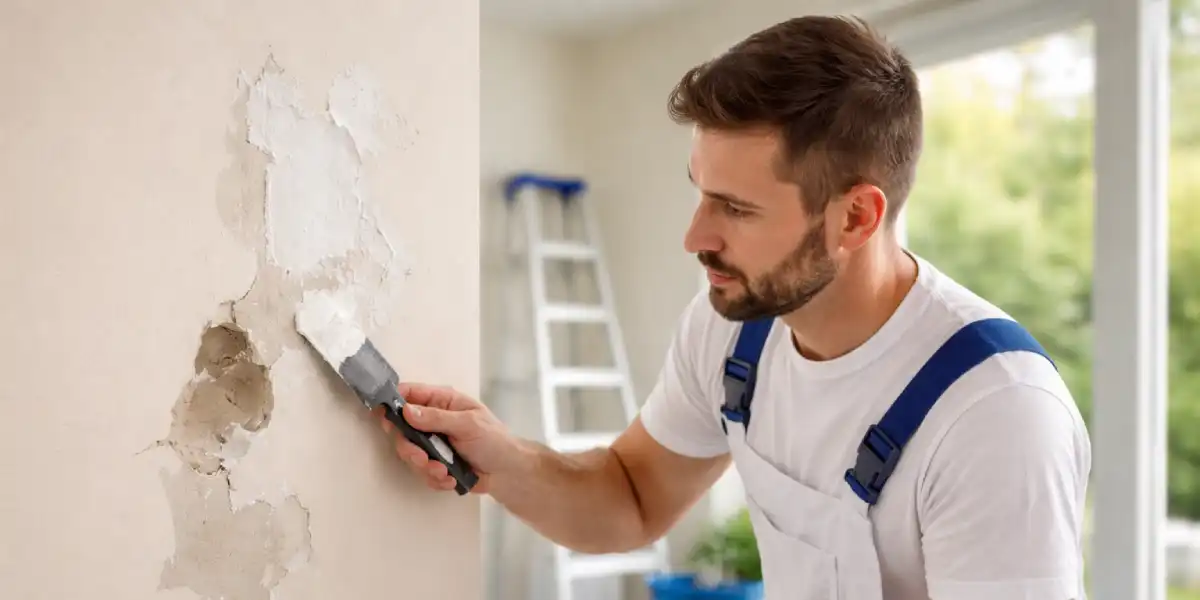
Repair imperfections: Fill suitable small defects and smooth the repairs.
Prime where required: Bare surfaces, stains and difficult existing coatings may need different primers.
Protect the room: Cover floors, furniture and adjacent finishes.
Test your setup: Check application and appearance in a small area.
Maintain a wet edge: Avoid joining fresh paint onto sections that have already begun drying.
Respect recoating times: Touch-dry paint is not necessarily ready for another coat.
Clean tools promptly: Use the cleaning method specified for the coating and dispose of paint waste responsibly.
For most homes, a quality brush, suitable roller sleeves, and careful preparation are the foundations of a successful repaint. If your project involves extensive repairs, high ceilings, or a larger interior, explore Finish Painting’s interior painting services for professional assistance.
Frequently Asked Questions
1. Do I need to prime walls before painting?
Yes, especially if you’re switching to a much darker or lighter colour, covering stains, or painting new plasterboard
2. What’s the difference between low-sheen and matte finishes for walls?
Matte (or flat) hides imperfections best and gives a soft, modern look—great for ceilings or low-traffic rooms. Low-sheen (like eggshell) reflects a bit more light, is easier to wipe clean, and suits living areas or family homes where walls get bumped.